

STEP 1
Create a Project
Once logged in, click the New Project button and name it for your event (e.g., “Holiday Brunch”). A project is your workspace where all labels live.
Create a New Project ›
STEP 2
Add Your First Label
Click Add Label. Select the label to open the Label Tools toolbar — type a headline, optional subheadline, then pick fonts, size, color, and border.
How to create a label ›
STEP 3
Bulk Add to Save Time
Use Bulk Add to paste a list of headlines and optional subheadlines (leave a blank line between labels). Add dozens at once and watch them appear.
How to bulk add labels ›
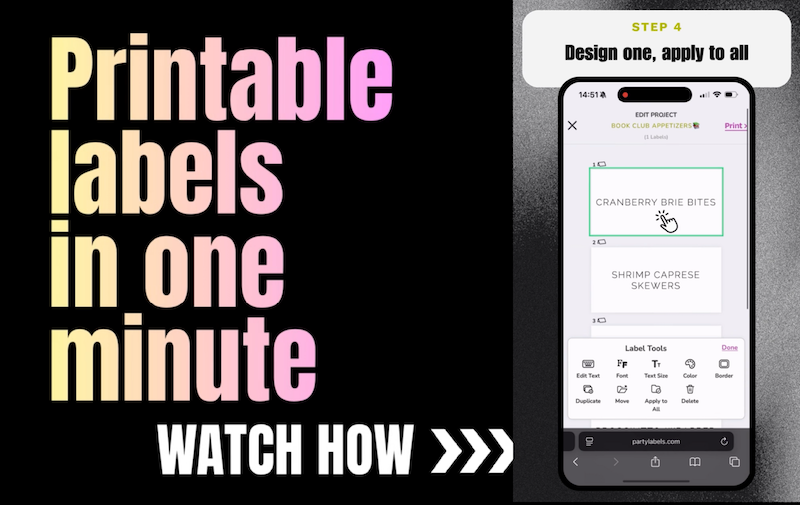
STEP 4
Make Them Match (One-Click)
Design one label, then choose Apply To All to instantly copy font, size, color, and border across every label.
Apply one design to all ›
STEP 5
Print & Display
Click Print from the Project Tools. Print-ready labels come out perfectly formatted for your table or buffet — professional results in minutes.
Printing help ›
Quick Start Videos
Designing on Mobile
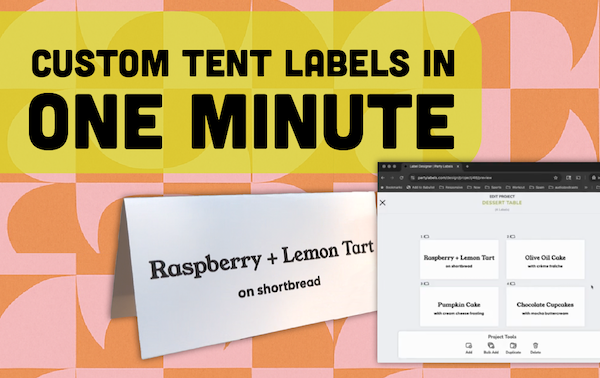
Designing on Desktop